
Motivation
This term I’ve been working through Data Representation and some Networks concepts with my Year 8 students. I used Micro:bits extensively for both aspects of this for the hands-on approach and ready access to simple networking code. To finish off the term, after looking at things like network latency, I thought it’d be fun to do an activity built around attenuation of wireless signals.
Previously I’ve had students group up in pairs and have the Micro:bits send an image back and forth pixel by pixel. This allows for students to see when messages have not arrived as they will have missing pixels from their displays.
This year, coming up to Easter I thought I’d do an egg hunt by measuring signal strength of “beacon” Micro:bits and using different methods to relay that to the user of a detector Micro:bit. I’ve been meaning to do this sort of activity for a while after seeing the Hot or Cold activity.
Physical Design
The beacon itself is just a Micro:bit powered by a battery periodically broadcasting a message. The only interesting thing I incorporated into the beacon is being able to change the signal strength so that some beacons are easier to find than others. I found that a strength between 0 and 3 was pretty good for what I wanted.
My initial designs for the detector simply used a horizontal line on the Micro:bit screen which moved up or down depending on the strength of received messages. It worked fine in a utilitarian kind of way, and since I only have so much space to store bigger housings, most students would use something like this.
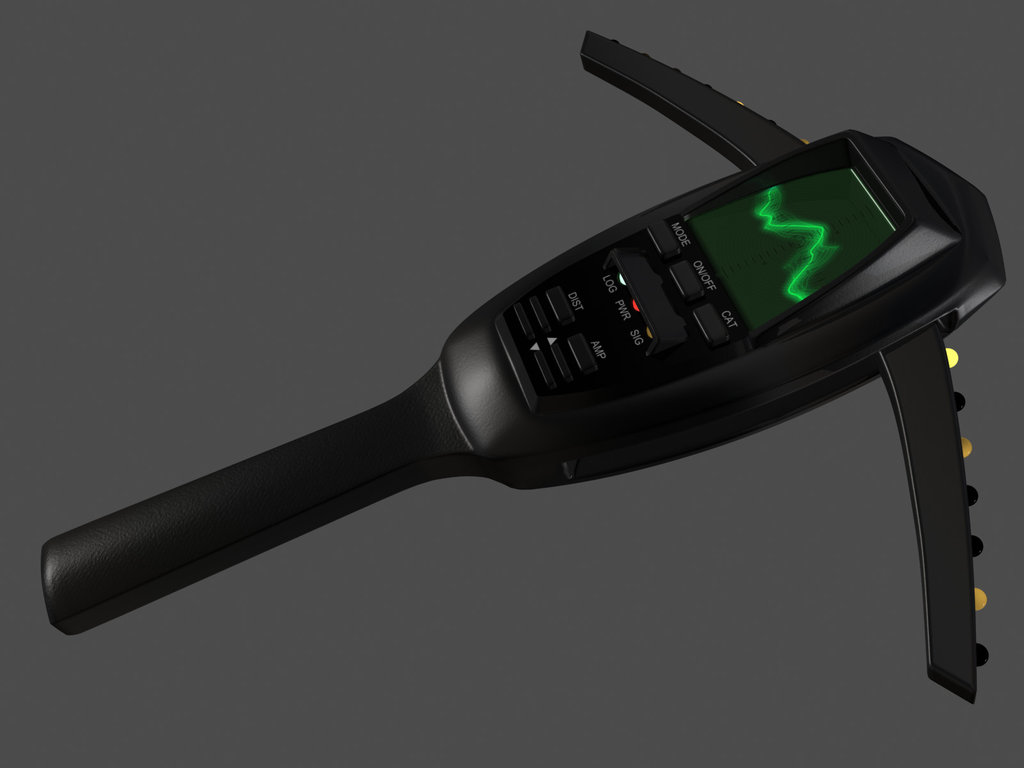
PKE Meter design created by Teletran (Deviantart)
However, in the spirit of cheesy sci-fi I wanted to build a hand-held detector that had glowy lights and moving parts. Although I didn’t recognise it at the time, what I had in my head was the Psycho-Kinetic Energy (P.K.E.) Meter from Ghost Busters.
Although I initially wanted to have acrylic arms which could be bottom-lit using RGB LEDs, I ended up just using MDF parts, and embedding a single RGB LED in the face of the housing. If I revisit the design later on I’ll see about making a fancier version, but I ran out of prototyping time for this design.
I used a cheap USB power bank for the power supply, and the excellent DFRobot Micro:mate to break out the pins for my LED and servos.


Technical Stuff
The signal strength (RSSI, measured in dBm) theoretically is measured from -255 to 0, with 0 being the strongest (MicroPython docs on using receive_full() with the Micro:bit). In my testing however, I rarely saw values outside of -30 to -100, so when converting the received signal strength into a percentage for use as an angle and hue, any readings outside of this space got compressed to the extremes.
  rssi = abs(rssi) - 30
  if rssi < 0:
      rssi = 0
  elif rssi > 70:
      rssi = 70
  perc = rssi / 70
Signal readings were incredibly spiky taking only one reading at a time, so I tried out a rolling average which worked OK at 10 readings, and significantly better at 25 readings (with a 50ms delay between each reading). It introduced a delay in displaying signal readings, but stopping the jerky behaviour of the servos and flashing of the LED indicators was worth it.
  last = []
  keep_last = 25 # how long the rolling average should be
  ...
  last.append(perc)
  if len(last) > keep_last:
      del last[0]
  perc_avg = sum(last) / len(last)
Review
Short range radio strength is quite finnicky, and so no matter how much fiddling I do with the code it will never work exactly how I want it due to interference, the direction of the antennas, and what I had for breakfast. However, I think the finished product works passably well, the physical design for the housing gives it a nice theatrical (if boxy) air, and it’s a fun activity for the kids to do while learning about some of the properties of wireless communication.
If anyone is interested in the code or laser cut designs, they are in my Microbit Github repo along with the other things I make.
I got to test this out with one of my Year 8 classes before school broke up for the holidays, hiding seven beacons behind books in our library and giving teams of three students a detector for each student, the short author code of the book each beacon was behind, and five minutes to match the books up with their title or the Dewey number. They all had a blast so this will definitely be on my list of things to do later on as an engagement activity (even through we didn’t have the time to really dig into the details before break).