Testing out LDR sensors
This year I have been teaching robotics to Year 8s for the first time. I’ve mainly been using BBC Micro:bits, since they are quite affordable, robust, are easy to hook up to a range of widely available components, and are easy to program in a few different environments (MicroPython being my weapon of choice).
To keep myself entertained, and to provide my students with a sample project (although more complex code-wise than they’re likely to accomplish) I decided to make something myself this term while my class worked on their own group projects (theirs are themed after the UN Global Goals). I had ideas for either building a carousel or a light gun game, and settled on the latter so I didn’t have to also tackle 3D printing out cams and gears and the like.
I have designs and code in a GitHub repo if anyone wants to have a look or use any of my ideas - there is also a list of components I used. The laser cutter designs are a bit of a mixed bag of formats at time of posting, but I’ll endeavour to standardise them to SVG or something more portable later. Be aware that the Kitronik servo code used in the servo controller is MIT licensed - I have links to original repositories in the repo readme.
Below is a series of in-progress photos of the build.
-
 1 Prototype and final designs
-
 2 Testing lower power engraving
-
 3 My spooky lineup
-
 4 Early assembly of pieces
-
 5 Attaching servos and spooks
-
 6 Wiring up LDRs and servos
-
 7 All wired up and ready to go
-
 8 Things get messy
-
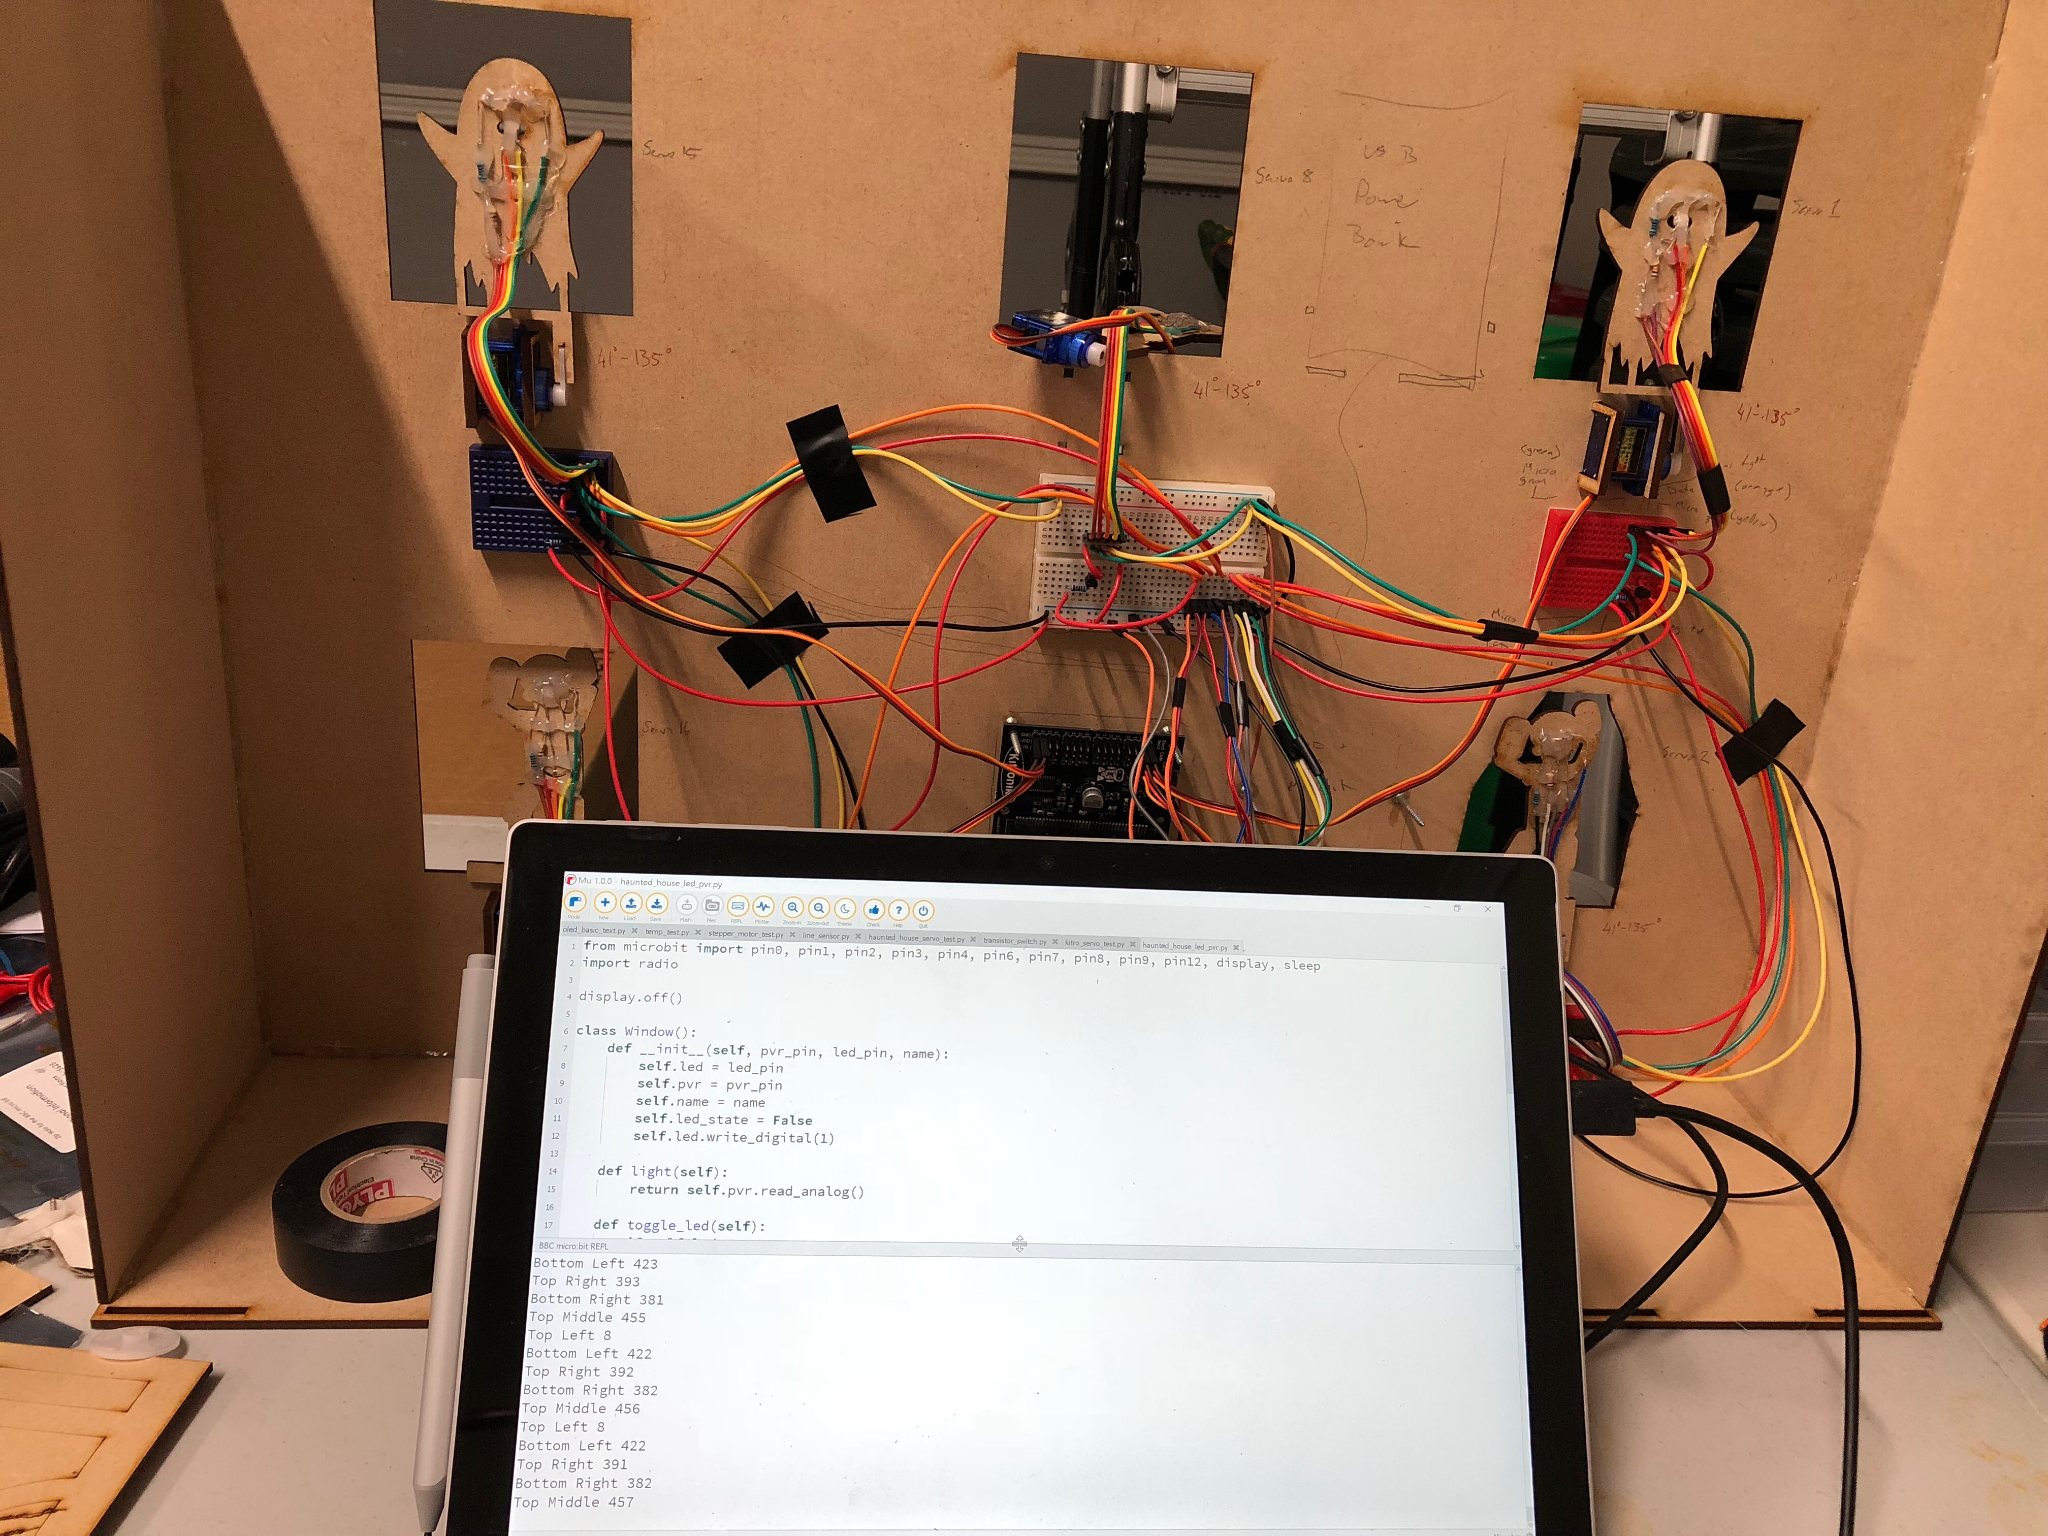
 9 Testing testing testing
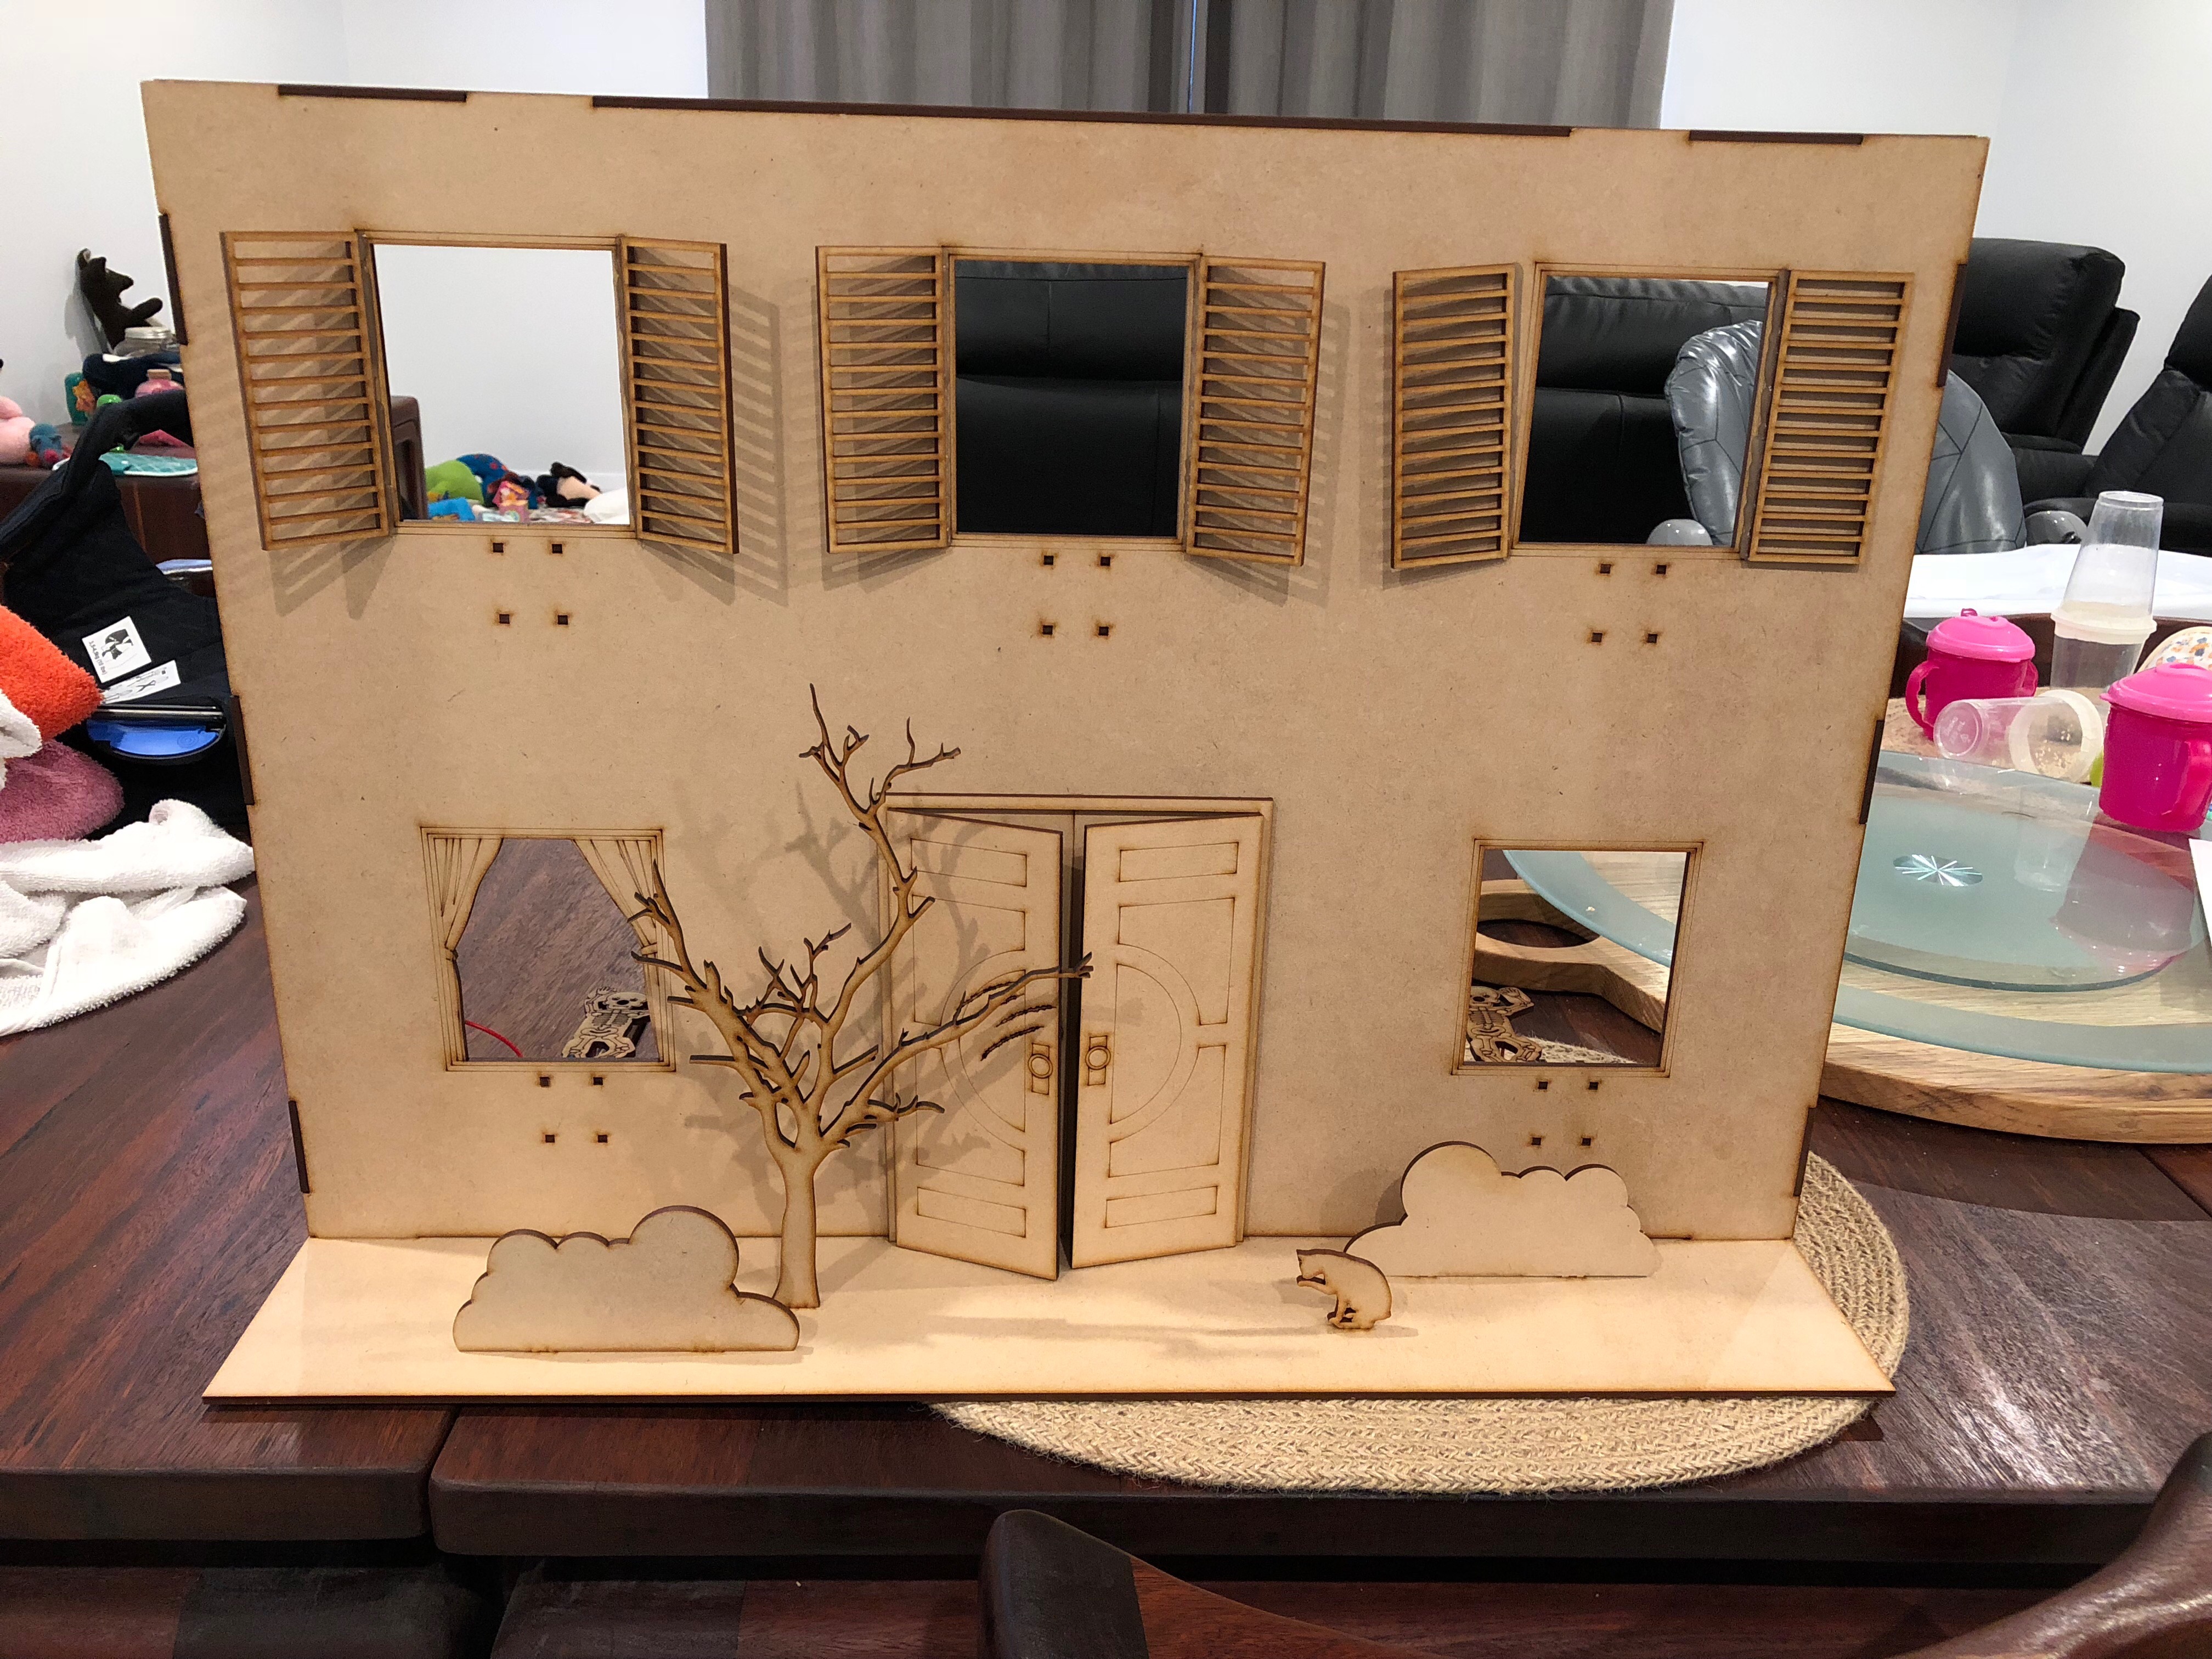
Haunted House assembled and tested
Design and Creation
There were three distinct phases for this project:
- Physical design (concept, vector design, laser cut and assembly)
- Circuit design
- Code
The circuits were conceptually pretty simple: LEDs turn on and off, as well as detect and take action based off amount of light received from a photoresistor (LDR). Since the LEDs drew more power than was available from the Micro:bit itself (particularly since it also had to supply power to the LDRs) I decided to use transistors to switch power from an external battery pack to the LEDs. Since the servos were plugged into a dedicated servo controller board, they too were very straightforward.
I’ve been getting more interested in laser cutting recently, and so the physical design was really enjoyable. I mocked up my designs by hand before drawing the pieces up in Affinity Designer (not really the right tool for the job, but it works). I had used MakerCase with my students before to design simple boxes with cutouts, so I had some idea of how to design finger joints for some structure, and the main challenge was making the design big enough to house the components and allow a decent level of detail in the extras like the dead tree and the spooks inside. Apart from a couple of stuff-ups where my mental model didn’t translate to the real world that well resulting in re-cuts, this went pretty smoothly, although it took about a week, mostly due to only being able to cut at work (and when I wasn’t teaching 😅).
I was expecting the code to be the easiest part of the whole exercise, since that is what I’m most familiar with. The basic idea for the two Micro:bits took a couple of hours to hash out in my head and roughly debug without having access to the boards. The wrinkle came when I actually loaded the code - or rather when I tried to.
Initially, my relatively simple model of a two-class program with a basic event loop was rejected as being too big to parse! I trimmed it down a bit (goodbye docstrings!) and tried again, only to encounter a memory error. Occasionally, the Micro:bit was even nice enough to tell me a number after the memory error, which I ended up guessing referred to how much of my code it failed to load, since it went down as I trimmed out functions, shortened strings, shifted dictionaries to lists, collapsed multiple objects to a singleton, and so on. The joys of programming on microcontrollers in interpreted languages!
Eventually I ended up with some plain old runtime errors, and I don’t think I’ve ever been so happy to see one, since it meant at least my code was running on the board. Coding was still the least time-consuming part of the process, but ended up being a surprisingly challenging exercise.
Reflection
The whole process was really enjoyable - it ended up looking great, and works just as I envisioned it (although I didn’t imagine the noisy servos in my head 😐). I haven’t gotten around to building the light gun yet, since I’m having a lot of trouble figuring out how to get a nice tight beam from an LED without expensive optics or shifting to a laser, but for now a torch is sufficient.
I’m planning on adding a score board using a third Micro:bit sitting on the top of the structure (maybe when I design and cut out a tiled roof), and since I already have all the radio messages from the other two boards, I shouldn’t need to add very much code to the others. This is a good thing, since I was getting to the point where adding in debugging messages to the servo board was pushing me over the memory limit!
I learned a fair bit about mixing different power levels in circuits along the way which I’ll be able to use in my teaching, and I’ll certainly have a few gotchas to look out for if any of my students start putting together complex programs.