Background
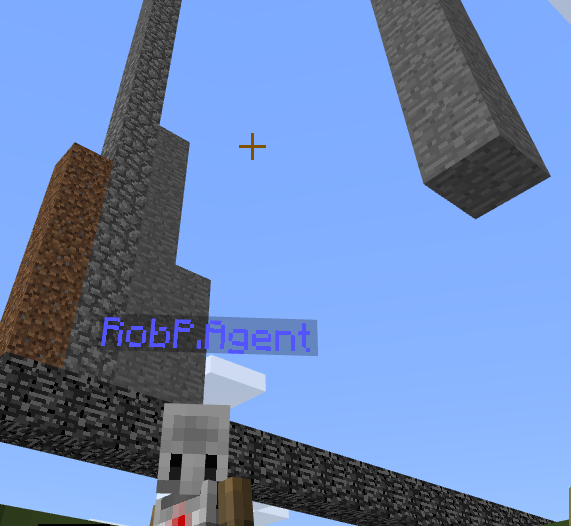
I’ve been using Minecraft Education Edition with Code Connection in my Year 7 classes this term to teach programming principles, which has been a blast* (i.e. I spend a lot of time trying to encourage students to write programs rather than run around building stuff themselves).

The Agent
Code Connection comes with a ton of interesting tutorials to get started with, but I’ve been writing a few things for myself to try out different features, two of which are the Agent and the Builder. The Agent is a code-controlled character that can build from its inventory, attack and destroy surrounding blocks, and do basic sensing of its environment. The builder is an invisible constructor which is used for raising structures fairly quickly; it doesn’t have an inventory and can’t interact with its environment beyond placing blocks.
An example of the two interacting could be using the Builder to construct a house shape (e.g. walls and ceiling) and then using the Agent to dig out and place doors and windows.
Geology
I wanted to try out something a bit different, and so I got to thinking about core samples. The Agent can dig, so why not use that ability for something interesting like looking at what it digs through (one of my lessons with my students was using if statements to dig out diamonds from rock).
The Agent can pick up the blocks it digs through, so I decided to build a core sampler. It would dig down until it hit bedrock (the indestructable blocks at the bottom of the Minecraft world), and then I could use those blocks to analyse the composition of the earth it dug through.
One of the issues I ran into straight away is that the Agent and the Builder both have a maximum operating range away from the player, and so I often had to teleport the player to them in order to continue processing.
Otherwise this worked pretty well. Here are the commands I used for the program.
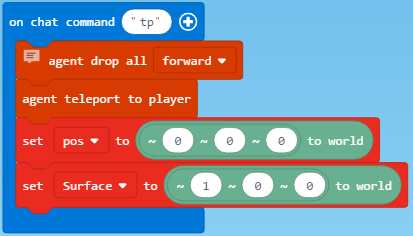
Grabbing agent and storing coordinates.
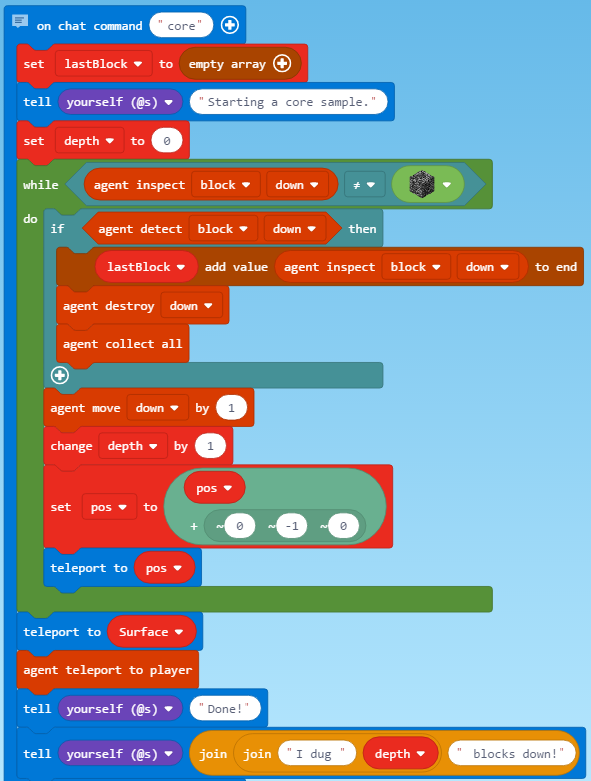
Digs until it hits bedrock, collecting blocks and recording IDs.
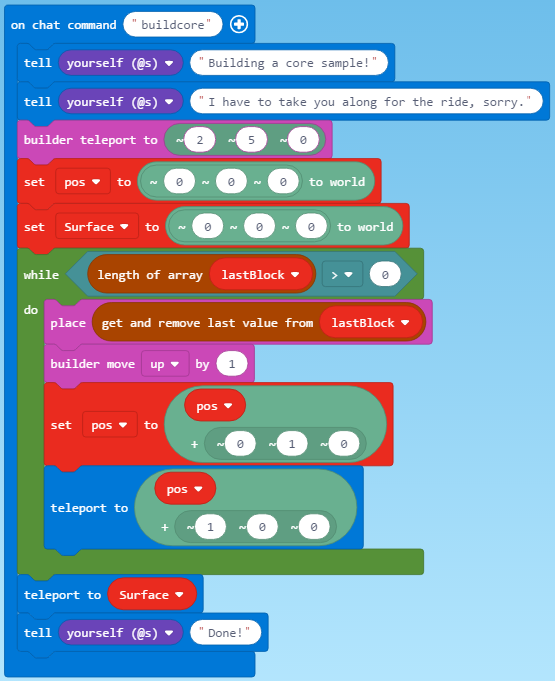
The core sample just recreates an array of block IDs.
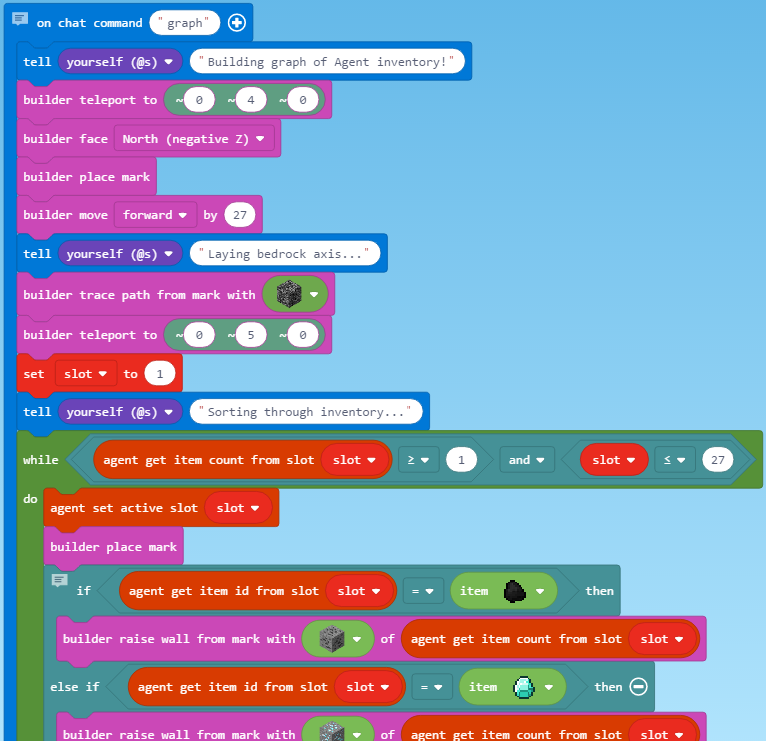
Use the Agent inventory to build the graph.
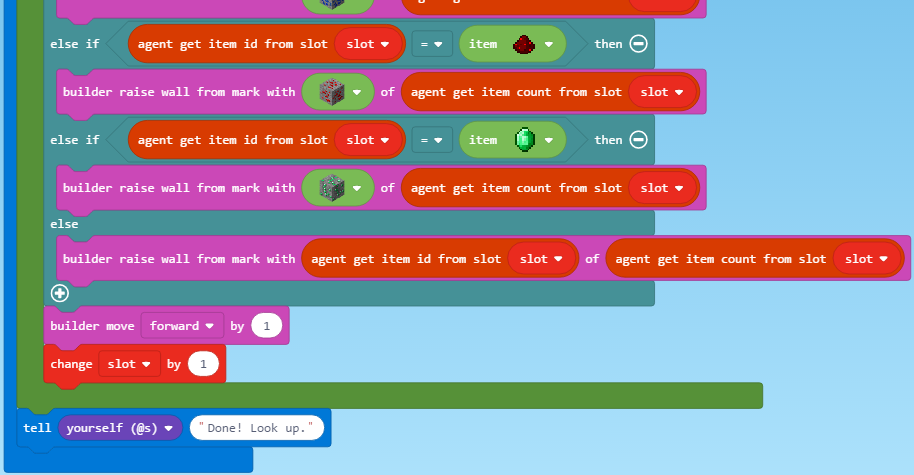
Lots of special cases for blocks which don’t drop themselves.
I thought about using the lastBlock array of the blocks that had been encountered for building the frequency graph, but didn’t really like the idea of implementing a sorting algorithm in MakeCode and in the end figured that since the Agent collects the same block together in its inventory anyway, that would make a nice shortcut.
The main issue with using the Agent inventory is many blocks do not drop themselves when broken and picked up. For example each of the ore types (coal, iron, gold, diamond, lapis lazuli, redstone, and emerald) drop non-buildable blocks, resulting in a long and rather ugly selection sequence translating the dropped material into the original block (and conveniently ignoring what happens if a single block drops more than one item!).
If you would like to try this out and don’t want to spend forever dragging blocks around yourself, feel free to download my MakeCode file here and load it into Code Connection yourself.