The Backstory
Before Christmas I was noodling around with Affinity Designer in an attempt to be a bit better at design. Part of this has been getting more familiar with the tools by working through a bunch of the tutorials at Tuts+. Tuts+ hosts some tutorials aimed at Designer, but working through the ones aimed at other software like Illustrator has been an interesting exercise in figuring out Designer’s tools.
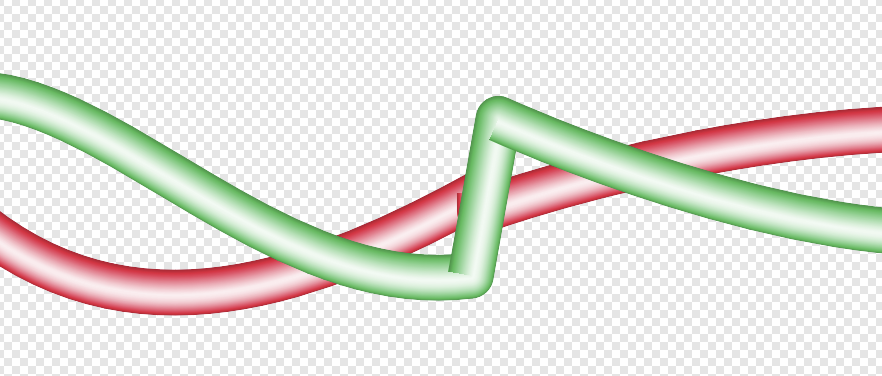
While I was making a robot face, I was trying to make wires by putting a gradient on a stroke, but it seems Designer won’t allow you to have a gradient which follows parallel to the stroke. Instead it will apply the gradient to the stroke colour in the same manner as filling.
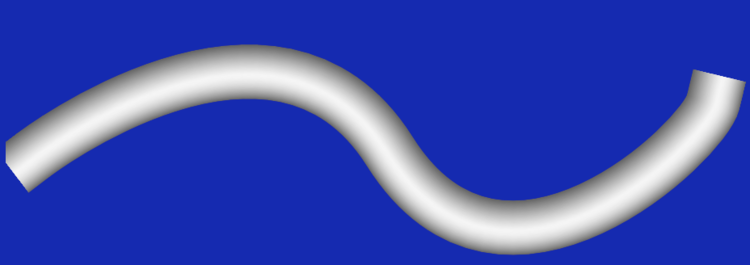
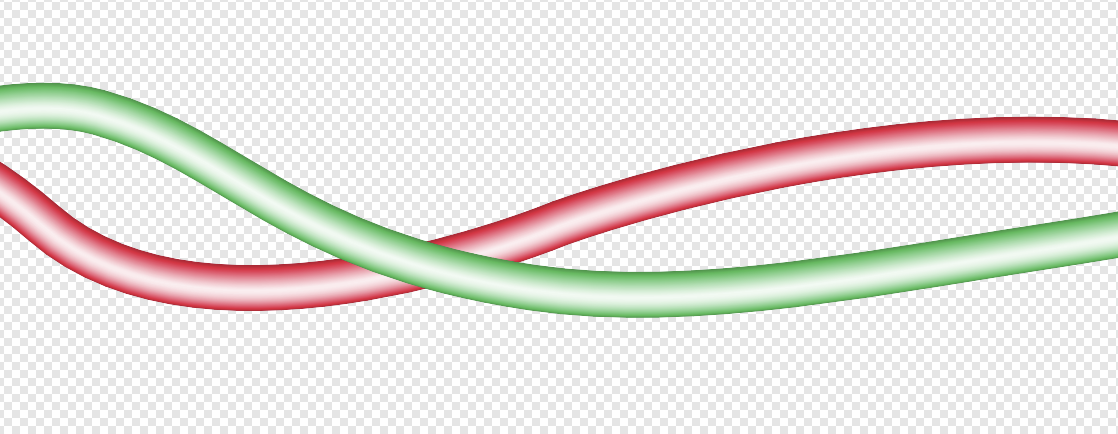
What I wanted
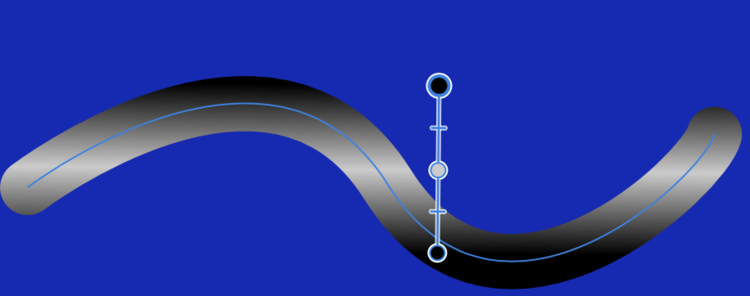
What I got
I went digging around the Affinity forums, and apparently this is A Thing, there were some other requests for it, but no real solutions. I got sidetracked by tutorials on making smoke brushes before thinking that I could maybe just make my own wire brush. Turns out, this is pretty easy, and lead to some other interesting stuff.
There are some other things that don’t seem work the way I’d like them to (scatter brushes), but let’s look at what worked for the time being.
Actually Doing Stuff
You can make “Textured Intensity” and “Textured Image” brushes in Designer quite easily - basically just make the image, export it as a PNG, and then create a new brush from it. The wire brush uses the Textured Image style brush, and allows you to either use the original colours in the source image, or colourised according to the selected stroke colour.
(Note that I don’t actually understand the difference between “textured intensity” and “textured image”, and couldn’t find any info about them, but the intensity brush option didn’t do what I wanted.)
Wire Gradient
To start with, I just wanted the gradient so that I could draw wires. This is pretty straightforward: Just draw a rectangle containing the gradient you want, and export is as a PNG, and then re-import it as an image brush.

Rectangle filled with a gradient. Easy.
This let me make nice looking wires in a range of colours and weights:
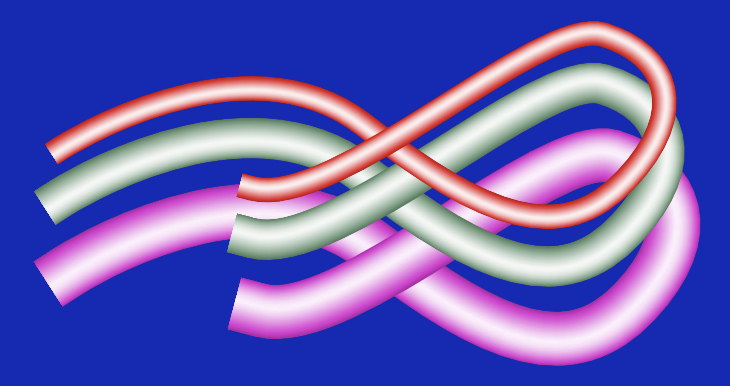
Wires of different stroke weights and colours based on the new Textured Image Brush.
Bundles of Wires
While browsing through the Tuts+ articles I saw one which was just a big bunch of resources, one of which was a plugin for Illustrator for making fairy lights, so naturally I wondered if I could do that with a brush in Designer.
The first step was to get a nicely tiling bundle of wires. I looked at the sample in the article, and they didn’t do anything fancy like overlapping wires, just a pair of curves, which looked pretty easy.
I used my wire brush to stroke a pair of Christmassy pen curves, which was the easy bit. Getting them to tile wasn’t especially difficult, just a case of duplicating both wires, and shifting each half left and right by half the canvas width (in my case 400px for an 800px canvas). I then joined the curves of the same colour in the middle using the Node tool and the Join Curves function (after selecting the two end points I wanted to join), deleting one of the two nodes, and cleaning up the curve.
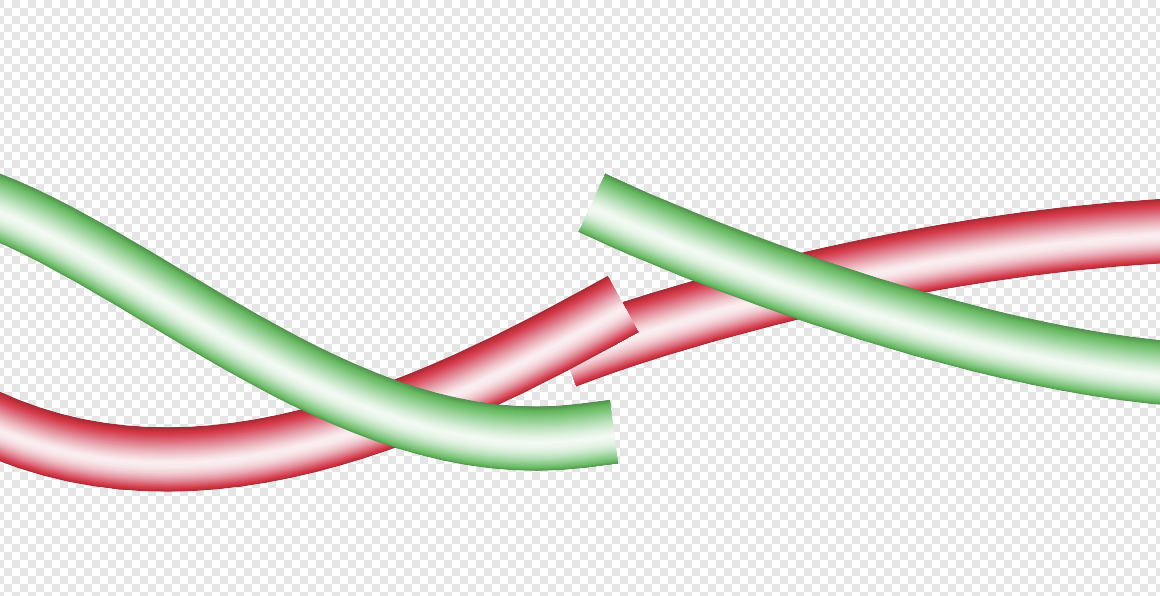
The last step is creating a slice using the Export Persona so that only the parts of the wire within the canvas bounds are exported (I was working with lots of extra vertical space, so just exporting the selected objects would be no good).

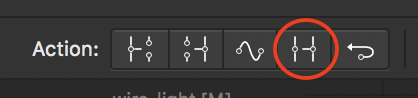
Import the selected PNG as a brush to see if it worked, which it did after choosing ‘repeat’ instead of the ‘stretch’ option in the brush’s settings.
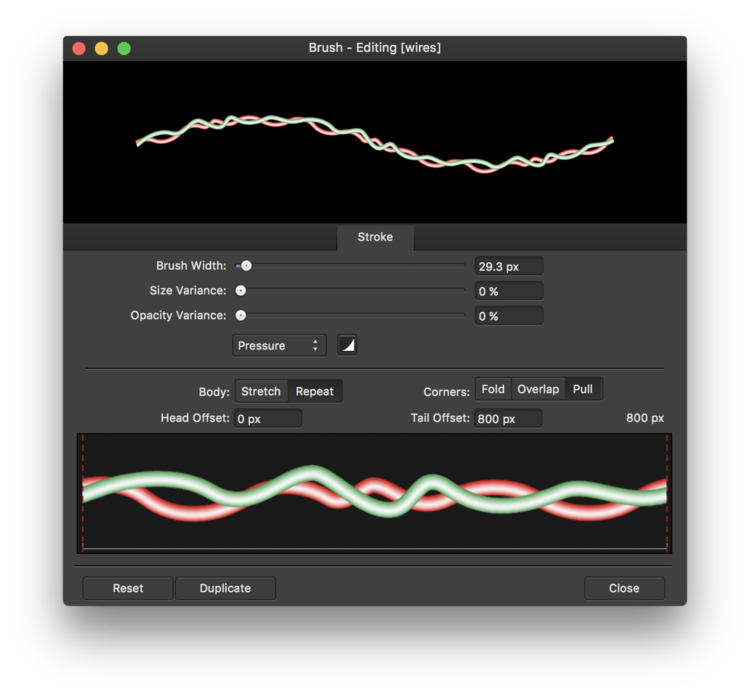
Editing the Brush Settings
One thing to be aware of is if you want to use colours from the original image instead of colourising based on the stroke colour, you need to choose ‘None’ from the stroke colour, which I found to be a bit counter-intuitive.
The Lights
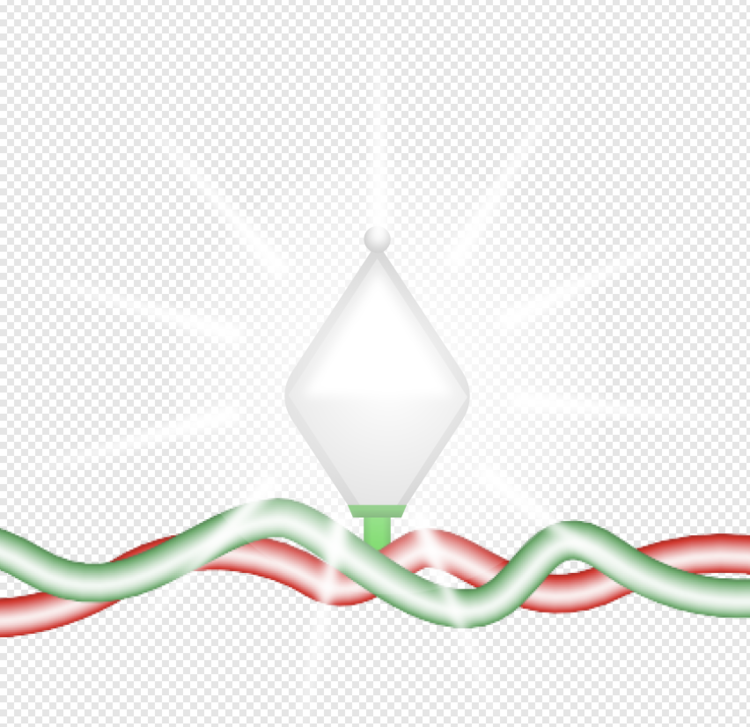
My not very exciting fairy light
The last step was adding the lights (also the bit I’m least happy with, but it still looks ok with some judicious editing of curves afterwards). I attached something that looked vaguely like a fairy light onto my bundle of wires in the original brush file, added in a halo and some radiant lines, and exported a new image file.
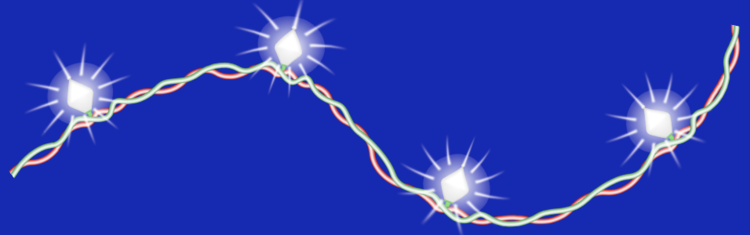
Fairy Light Success
All in all it worked pretty well. On tight curves the rays get twisted up, so the curves need a bit of fiddlng. It works best on gentle curves.
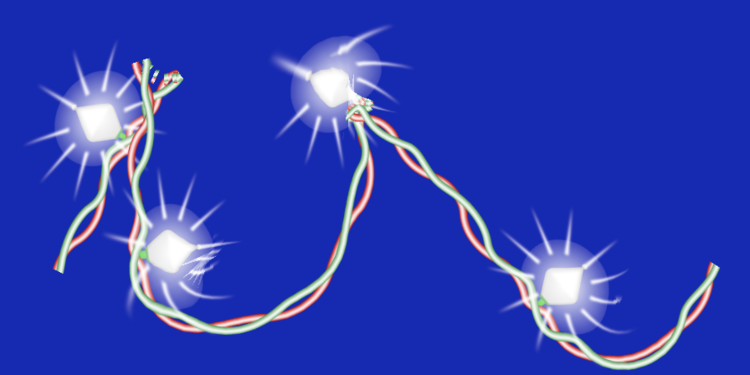
Fairy Light Fail!