Security of Wireless Networks
My previous lesson looking at wireless networks used Microbits and their Bluetooth networking to illustrate some of the problems with local wireless networks (as opposed to general internet connectivity, which we mostly did by doing speed tests and complaining about the school’s net connection :).
At the end I wrote a bit about what I wanted to do with the next lesson, which was look at some basic crypto to handle the eavesdropping problem we had when someone else listened to the same channel we were communicating on.
(Note for anyone who wants to yell at me through the internet: I’m well aware that this is not anything approaching real crypto, and I’ll be the first to tell my kids that if they want to know more about how modern crypto really works, the first thing they need to do is go and find someone who really understands it - this is about what it does, not how it works.)

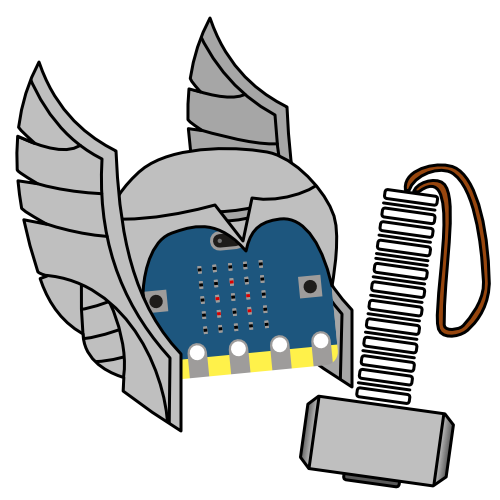
The Almighty XOR and his hammer MjollNOR
After running into a bit of a wall trying to get a XOR cipher working in the block coding interface, I started to dig into the MicroPython interface instead. Along the way I discovered that there was a rather nice basic IDE called Mu, which lets you flash your code straight to the device, as well as running a REPL (Run-Evaluate-Print-Loop) to do easy code testing (which also works breaking into running code, so you can load functions onto the Microbit, then run and test them in the REPL interface).
The Results
I haven’t used this with my classes yet, but I’ll edit this post at the end of the week and add in how things went.
This version uses a shake of the Microbit to choose a random image, mostly because getting A+B button presses working was annoying - see the Issues section later on, but also because I wanted to play with accelerometer gestures in Python. The A button transmits the image over whatever channel the device is listening to.
The B button switches channels, but I also made it switch between clear text and cipher text modes. You will see in the video when I press the B button for a second time on a channel the top-right LED lights up and the channel number stays the same. This indicates cipher text mode. It still listens on the same channel, but uses its cipher bitstring to decode any communication it receives (whether or not it’s actually encrypted :).
Below is a short video showing how this version of the program works.
Again, if you want to look at the Python code, or download the .hex file to load onto a Microbit via copying, you can grab them from the github repo.
Issues
As usual, there were some issues I ran into along the way.
Event-driven programming in MicroPython just isn’t there. With the block interface it seems that event listeners get their own processes, so you can break into say a radio’s receive section using a button’s code. With Python the lack of event listeners is slightly mitigated with things like buttons keeping track of whether they have been pressed since you last examined them (button_a.is_pressed() vs button_a.was_pressed() for example). This is fine for a simple main loop, but you still need to be careful not to lock yourself out with delays, particularly since I found a few situations where I had to build in delays just to cope with the length of time it takes to un-depress a button.
Debugging is still annoying. Let’s say there’s a syntax error in your code, because you’re just not paying attention. The Microbit will try and be helpful and, when it flashes and restarts, will tell you about any errors using the LED array. However, trying to read an error message scrolling across the LED array is just plain painful, since it is quite bright, and also only shows you about a character and a half at a time. If you’re lucky, opening a REPL will also give you the error message in a way that preserves your eyes and your sanity, but I didn’t have this work all the time. I just tried to ignore the bright lights, and focus on the bit where it told you the line number of the error.
I quite like Mu. It’s clean, simple, has (slightly overzealous) code completion, and it’s nice getting to the REPL and being able to do code introspection. BUT Mu’s ‘check syntax’ function checks syntax, but also highlights lines that don’t obey its style guidelines. So this means if you’re somewhat lazy about putting spaces after commas in argument lists or list definitions, you’ll get exactly the same red indicator at the start of the line as a genuine syntax error (and it is very opinionated about coding style, oh, and not being able to find an EOF at the end of the file).
Lastly, writing code which you can only interface with using two buttons and some basic gestures is hard. Talk about minimalism in UI design.